
Hi there, Z|insane giving you a How To make a Modular Baneblade! Now this isn't my model this is my thirteen year old brothers for Apocalypse Space Marine army, I play Tau so I will do my best to get the proper names on the parts if I get any wrong let me know I'll fix it. Also I used all 1/8" by 1/32" magnets but for the cannon I recommend something bigger. The magnet works but I would prefer something a bit more beefy personally. I am also using magnet to magnet contact on this as I like the feel better but you could use a strip of ferrous metal that the magnets can attach to.
Things You Need
- 1 Baneblade Kit
- 3 1/4" x 1/16" Rare Earth Magnets
- 38 1/8" x 1/32" Rare Earth Magnets
- Plasticard
- Green Stuff
Magnet General Information
Remember polarity matters if you want this to be completely swapable I use a marker and mark the same side on every magnet. This helps ensure that you keep things all the same ensuring that all parts are swapable.
Superglue General Information
Superglue fumes eat primer. Thats what that white cloudy spots around the magnets. Thats too much glue. Just needs to be retouched with paint, but just so you know.
Part Shop!

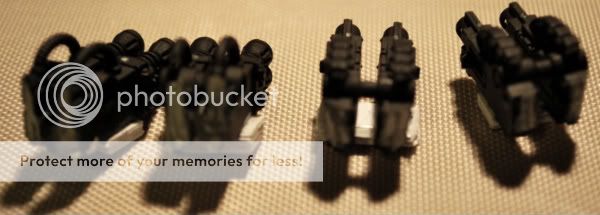
Swapable Turret Cannon
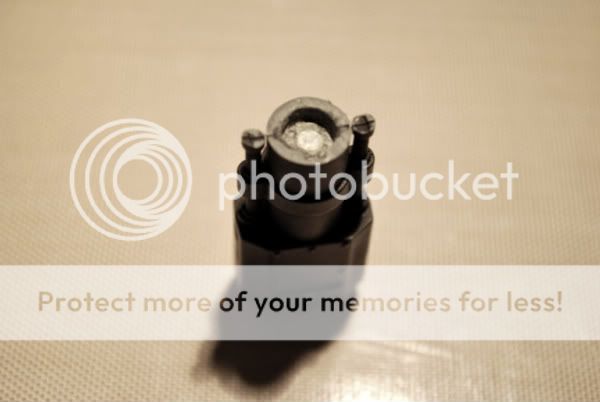
First off all remember I used was the 1/8" x 1/32" Rare Earth Magnets so you will have to keep that in mind remember to keep the little keyways on the cannons and the turret itself. Drill each spot out on both the cannon and turret mount. Remember to put green stuff in behind the hole since you need a spot for the back of the magnet to adhere to with super glue.

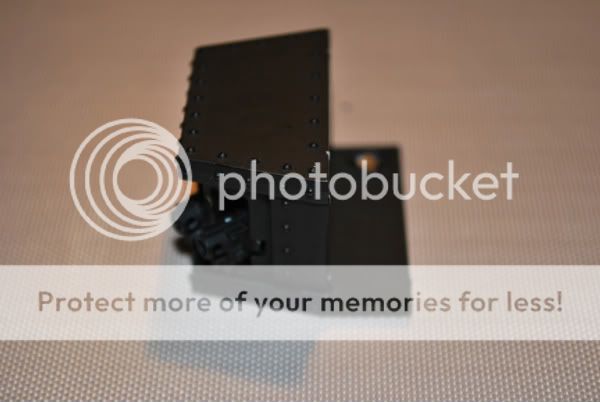
Turret Mount

Baneblade Cannon
Hellhammer Cannon

Mounted
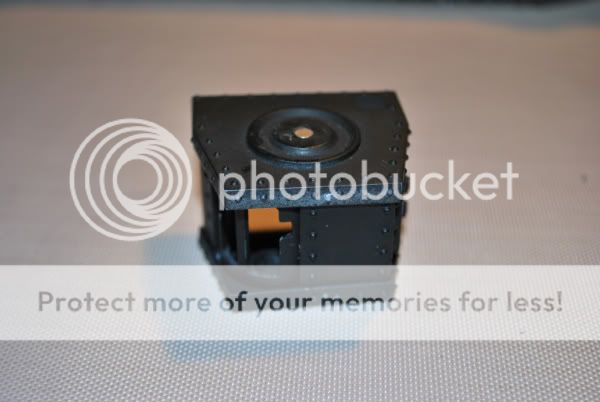
Turret Mount Note
If you have primed the entire model in separate pieces like I did. I ran into an issue where the turret would seize with the primer sitting on primer after a few hours making it a huge pain to turn the turret possibly breaking parts of that turret off. SCRAPE THE PAINT OFF!
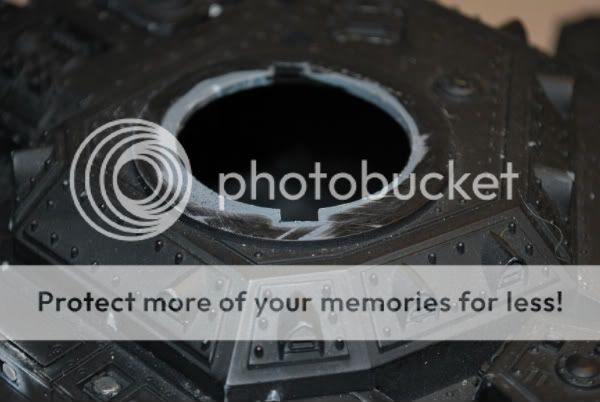
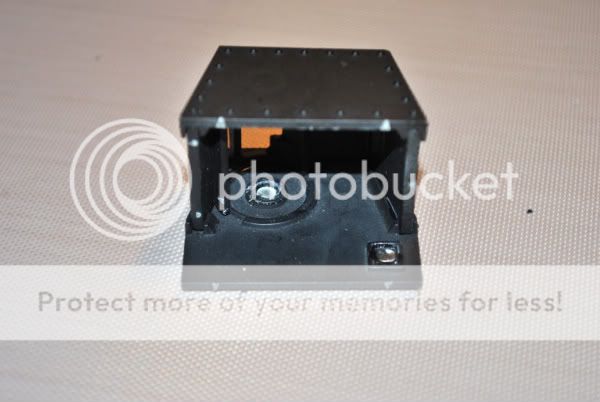
Like this.
It's not completely scraped off as you can see, but it gives you a visual of where to scrape.
Command Tank Accessory Note
The antennas last 5 minutes. I am not kidding these get breathed on they explode and break. Use a metal rod instead clip the plastic rod and attach the bottom and top parts of the antenna to the rod.

I will be filing these flat then go back and fix them.
Plasticard Prep
Plasticard 1/2" x 1/2"

Cut this in half... and you get.
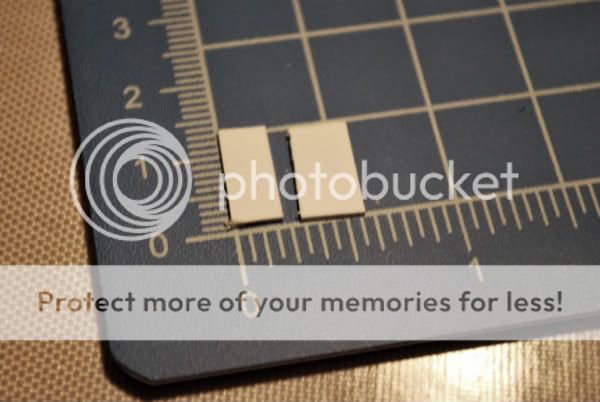
Plasticard 1/4" x 1/2"
You will need 12 peices of these are you are going to stack 3 of them together to get the proper height for your sponsons weapons.
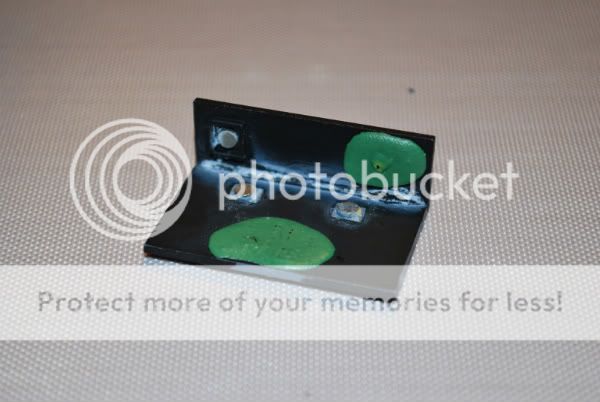
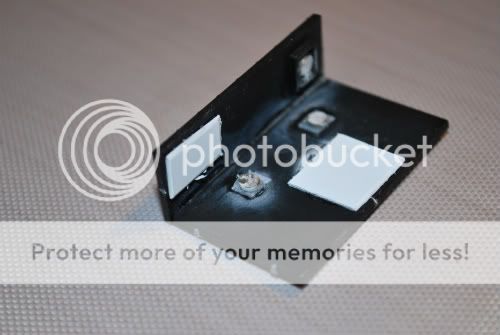
Sponson Weapon Setup
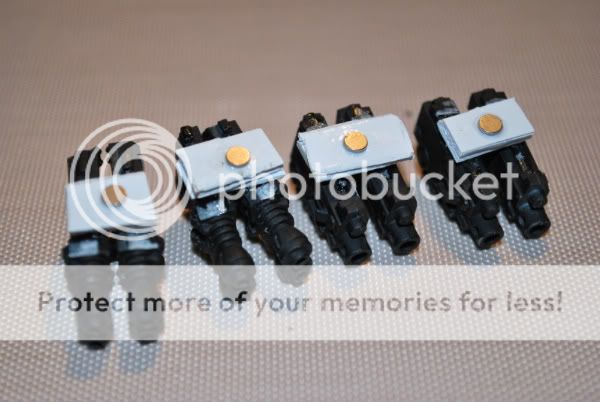
Here you take 3 layers of the little plasticard mounts and glue them in place as you can see.
You need to carve the back up to ensure that the side sponson fits properly as you will see here.
See how you can't see the back of the weapon this is why you carve the back of the weapon up so it fits!
Sponson Lascanons
Now you may be thinking why are you magnetizing these?
A) You need to once you see how the heavy bolter is mounted inside, you don't use that little stick dealy to hold them in place.
B) It moves better.
C) ITS COOL AND YOU ALL KNOW IT!

The magnets here fit perfectly not even kidding almost like GW designed it for this.
Mounting magnet for Lascannon
Again the magnet fits perfectly with the hole. Note that the Lascannon magnet mount there can cause this one to flip as you place it in so be careful.
Putting it together


Almost there... where did that Lascannon go...

There it is.

Side Armour Mounts
Note: You can recess the magnets if you want a cleaner look by drilling through the spots and putting a plasticard backing underneath the armour spot for the superglue. My little brother wanted a bulky looking armour, so I didn't recess the magnets.
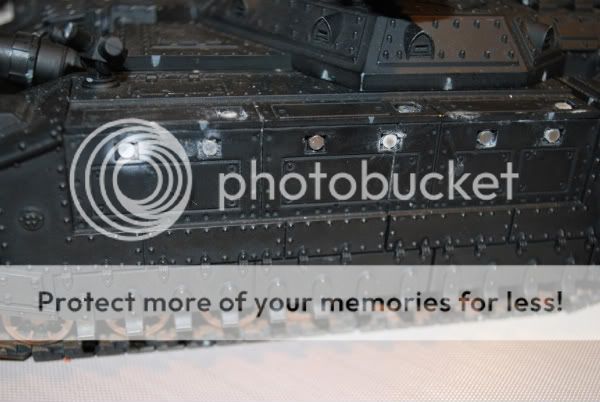
Location of magnets for the side armour plates.
You can use greenstuff or plasticard as a spacer to ensure the plates are level as you only have 3 points of contact.
I preferred the plasticard it was quicker and more exact.
Finished

Final Words
I really hope this is helpful for you, maybe you will learn from some of my mistakes and make an even better one with the the larger magnets on the cannon and metal rods for the antenna.
Please leave comments point out anything wrong or unclear. As I said I will respond, and fix it.
Happy Wargaming!
Z
No comments:
Post a Comment